How to Replace a Shower Head in 8 Easy Steps
Why Should You Replace an Old Shower Head?
Changing a shower head can be a simple and affordable way to update the look of your bathroom and improve your showering experience. Changing to a low-flow shower head can help tremendously save water and money. This would be the right investment to cut down on water usage and save money on your water bill. Also, this can improve overall energy efficiency. However, the lower water consumption per minute of this modern alternative does not indicate low pressure.
It is important to pick a showerhead that works for you before you undertake the replacement steps. Although there are various types, it can be difficult to choose the ideal one for your shower. The rain shower head, the wall-mounted shower head, the handheld shower head, the ceiling-mounted head, and the multi-spray pattern head are all very common choices. In addition, there are options for lighting, music, temperature control, and phone access.
The procedure for changing a shower head is based on the shower head you select. Replacing it with a similar one may be easy for beginning DIYers, but installing one in a different position or additional modern features may require professional help.
In this blog post, we’ll walk you through the steps of how to change an old showerhead and offer some tips for selecting a new one that meets your needs and preferences.
Tools and Materials Required Before You Start
Before you get started with the DIY project, you’ll need to gather a few tools and materials:
- An adjustable wrench: This is the most important tool for removing the existing shower head.
- Teflon tape: This is used to create a watertight seal between the shower arm and the new showerhead.
- Slip joint pliers: These can help loosen the shower arm if it’s stuck or difficult to turn.
- A soft cloth: This can be used to clean any dirt or debris that accumulates during installation.
Steps to Install New Shower Head
Now, let’s get started with the steps for changing your old shower head:
- TURN OFF THE WATER SUPPLY TO YOUR SHOWER
Before replacing the old shower head turn off the valves to stop the water supply to the shower head. You can usually do this by locating the shutoff valve on the wall behind the shower. It’s a good idea to turn off the main water supply to your home as well, just to be safe.
- REMOVE THE OLD SHOWER HEAD
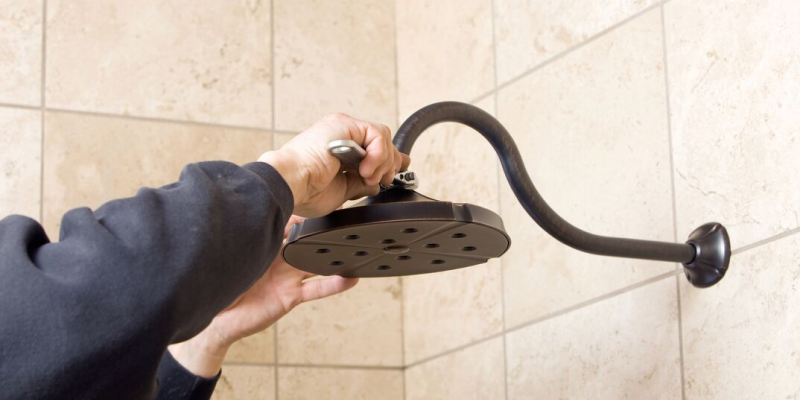
Use the adjustable wrench to loosen the shower head from the shower arm by turning it counterclockwise. It should be hand-tight, so you shouldn’t need to apply too much force. If the shower head is stuck, you can try using the slip joint pliers to help loosen the connection . Turn the shower head counterclockwise to remove it from the arm.
- CLEAN THE SHOWER ARM
Once the old shower head is removed, take a moment to clean the shower arm. Clean the joints using an old toothbrush. Then use a soft cloth to wipe away any dirt or debris that has accumulated over time.
- APPLY TEFLON TAPE
Wrap the Teflon tape around the threads of the shower arm in a clockwise direction. Be sure to wrap the tape tightly and smoothly to secure it properly, and avoid leaving any excess tape behind.
- INSTALL THE NEW SHOWER HEAD
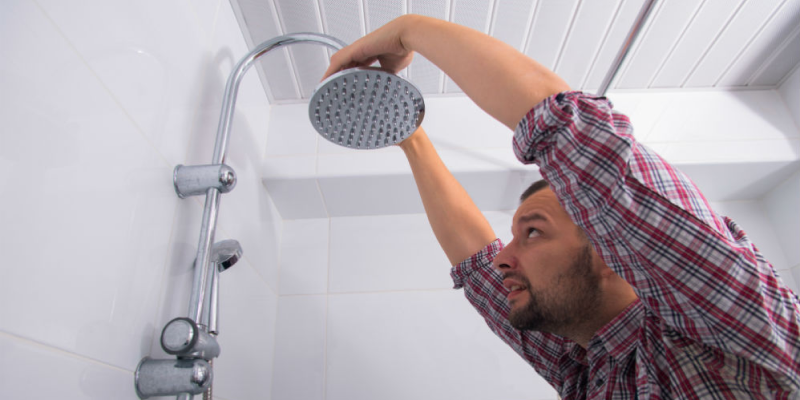
Take the new shower head out of the packaging and attach it to the shower arm by turning it clockwise. Tighten the showerhead properly, being careful not to over tighten it and strip the threads.
- TEST THE WATER FLOW
Once the new shower head is securely in place, turn the water supply back on and test the water flow. Ensure the connection is secure and it is not leaking. If the flow rate seems too low, you may need to remove the flow restrictor from the shower head This is a small disk that is designed to conserve water and reduce the flow rate. If you’d prefer a higher flow rate, you can remove the restrictor by following the instructions that came with your new shower head.
- ADJUST THE ANGLE OF THE SHOWER HEAD
Most shower heads are adjustable, so you can adjust the angle to suit your preference. To do this, simply loosen the mounting bracket and adjust the angle of the shower head as needed.
- CLEAN UP
Once you’re satisfied with the installation of your new shower head, clean up any tools or materials that you used. It’s a good idea to clean the new shower head and arm with a soft piece of cloth to remove any fingerprints or debris.
That’s it! You’ve successfully changed your shower head and are ready to enjoy your new showering experience.
When selecting a new shower head, there are a few things to consider.
- Water pressure: If you have low water pressure, you may want to consider a shower head with a high flow rate.
- Water usage: If you are concerned about water conservation, you may want to choose a shower head with a low flow rate or one that has a water-saving setting.
- Spray patterns: Do you prefer a single, steady stream or a more varied spray pattern? Different shower heads offer different spray patterns, so choose one that meets your preferences.
- Finish: Do you want a shower head with a chrome, brushed nickel, or oil-rubbed bronze finish? Choose a finish that matches your bathroom’s decor.
- Price: Shower heads can range in price from under $20 to over $200. Determine your budget and choose a shower head that fits within it.
- Installation: Some shower heads are easy to install and can be done by the homeowner, while others may require professional installation. Consider whether you are comfortable installing the shower head yourself or if you will need to hire a professional.
- Maintenance: Some shower heads require more maintenance than others, such as regular cleaning to prevent clogs. No matter what kind of maintenance you choose, make sure to clean it often so you can enjoy a relaxing shower for a long time.
In most cases, you should be able to change a shower head yourself as long as you have the necessary tools and follow the instructions carefully. However, if you’re not comfortable with a DIY project or you’re unsure about the process, it’s always a good idea to consult with a professional plumber for assistance.


 0
0 905-332-8222