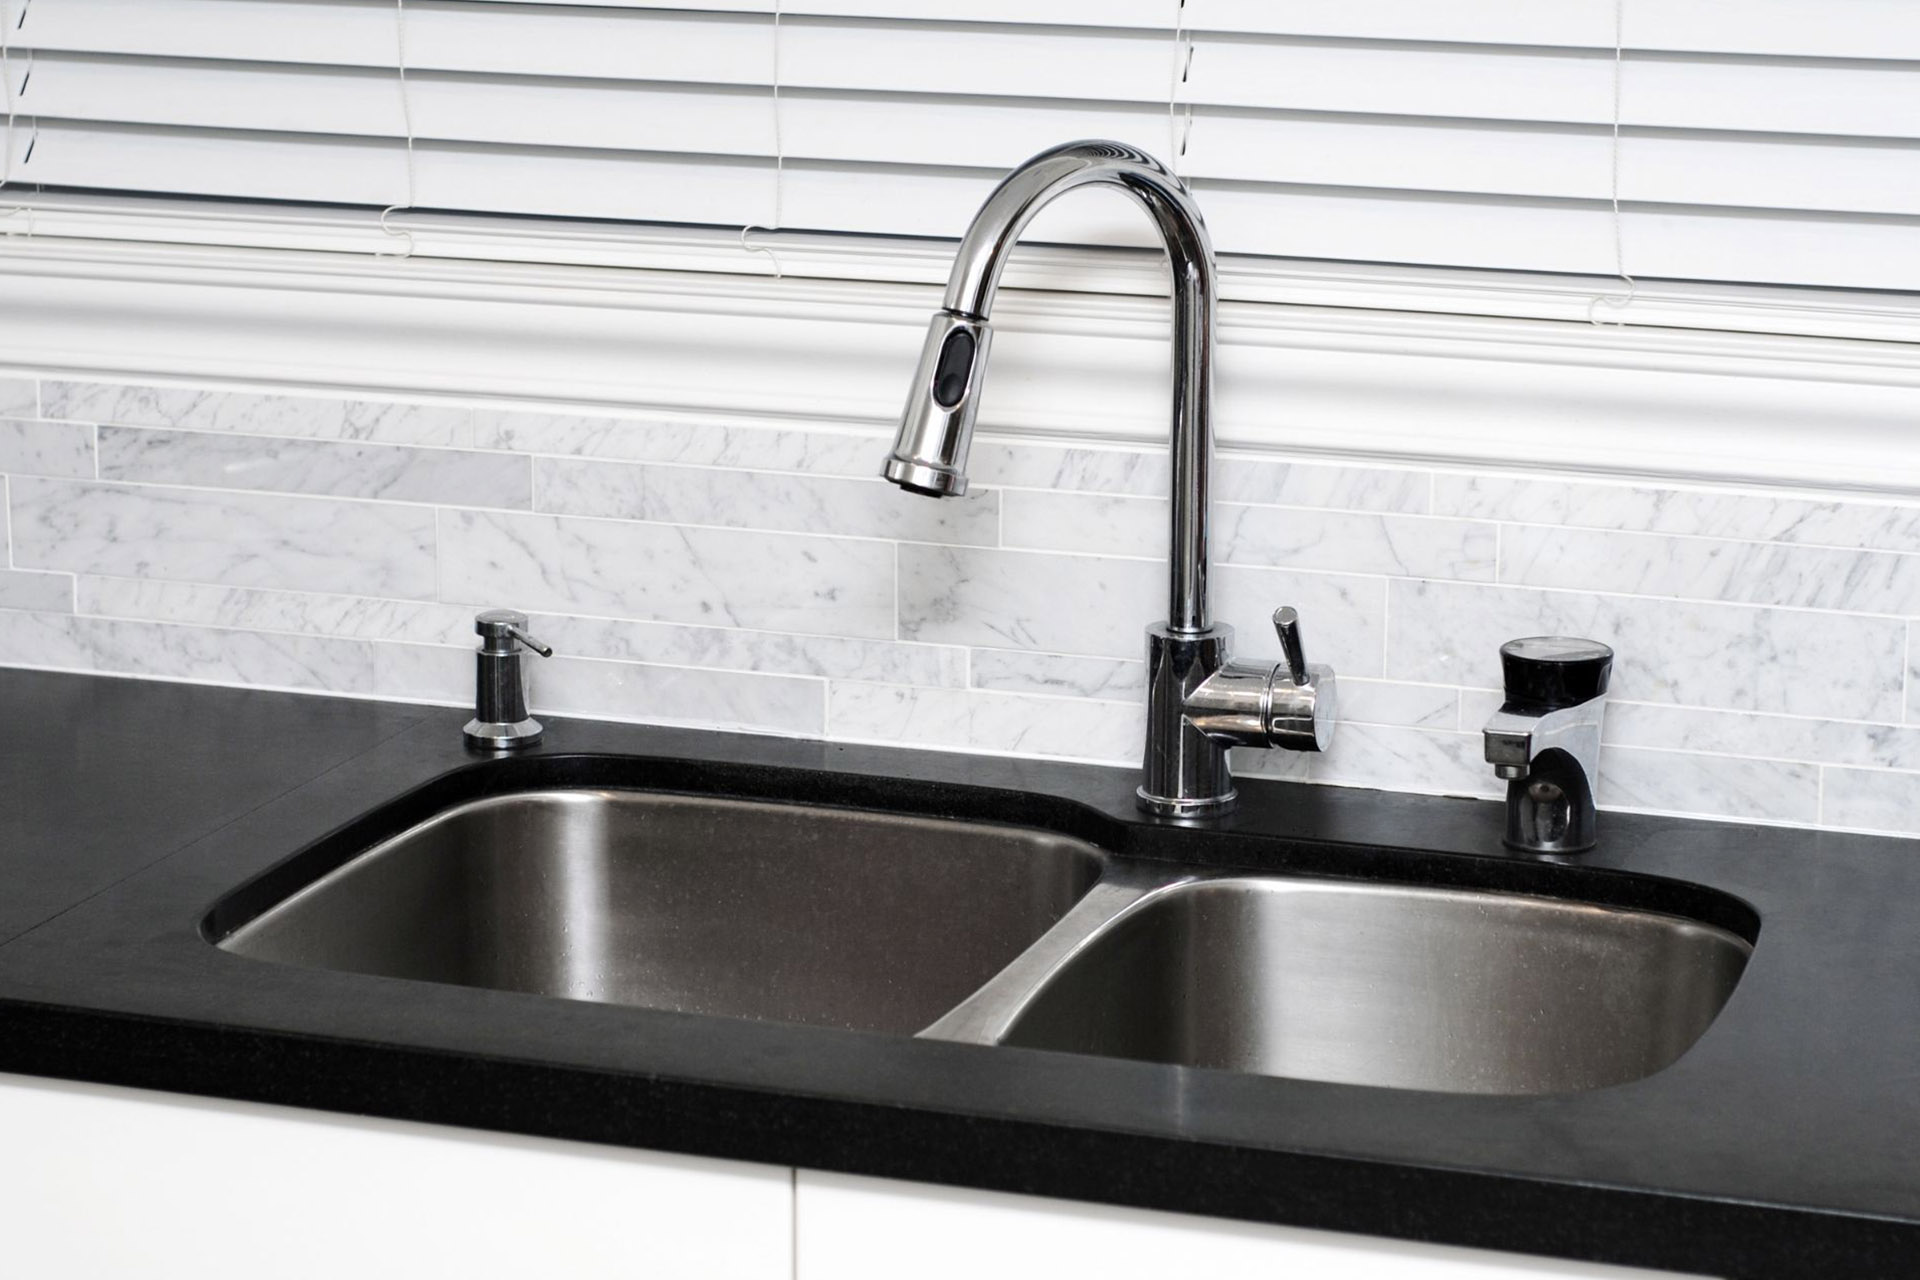
Your Ultimate Guide to Plumbing a Double Kitchen Sink
If you have been looking to upgrade your single-basin sink, you have stumbled upon the right guide for double-sink plumbing and installation directions.
Preparing your kitchen for a larger sink involves updating the plumbing configuration. The main difference between single sink and double sink plumbing is that each basin has an individual tailpiece that connects to a sanitary tee. The sanitary tee is then directly connected to the P-trap drain.
However, a swing tee trap also works as an alternative. Either way, this setup directs the course of waste from both basins into a single drainage line.
Aside from that one difference, single-basin and double-basin sinks more or less follow a similar installation process. So, you don’t have to be a plumbing pro to successfully DIY double sink plumbing!
Follow our guide below to learn more about installation and plumbing for a double kitchen sink.

Double Sink Plumbing in 12 Easy Steps
Step 1:
The first step is to free up space to accommodate a large double-basin sink.
Measure the available surface and make holes according to the size of the double-basin sink you wish to install. Keep in mind that the basins should fit securely through the openings, whereas the edges should be placed on the sides of the counter.
Step 2:
Use the cold and hot isolation valves to shut off the water supply in order to make way for the faucet installation.
In case your plumbing system is not equipped with a set of isolation valves, turn the water off via the main shut-off valve. Then proceed to drain the lines before moving on to the next step.
Step 3:
Now, you’ll be ready to install sink basket strainers. These items are placed at the bottom of the sink and consist of a drain and a strainer basket. To make the installation process more efficient, make sure to put them in place before the sink is installed into the counter. Use silicone caulk on the bottom of the basket strainer and lower it into the drain at the lower area of the sink.
If it is done correctly, the edge of the basket strainer should be sitting snugly in the drainage hole while the silicone creates a waterproof barrier to block out leakages.
Step 4:
Next, let’s fasten the strainer to the sink by tightening the strainer nut. Do this for both basins.

Step 5:
If you are working with a drop-in sink, apply caulk onto the countertop. The rim of the sink needs to be secured on top of the counter to support the mass of the sink.
On the other hand, if you are working with an undermount sink, apply the caulk onto the bottom of the countertop around the edges of the sink holes before putting the sink in place. In this case, the edges need to be secured beneath the countertop with the help of industrial-strength clips, caulk, or adhesive.
It would be a good idea to have someone assist you with this very meticulous step.
Step 6:
Now that the double-basin sink is properly affixed to the countertop, you’ll have a clear view of how the drain outlet pipelines would connect with the basket strainers.
Do this by using a tape measure to find the height of the pipe. Remember that it needs to be high enough from the floor to accommodate the P-trap yet low enough to allot space for the drain tailpieces and the sanitary tee to meet the P-trap.
In case this part of the process is too complicated, it is highly recommended that you recruit the services of a professional plumber.
Step 7:
Let’s move on to connecting the drain tailpieces. Make sure that the drain tailpieces expand down to an equivalent height for both basins. Mark and cut accordingly with a PVC cutter or a hacksaw. Then proceed to fit the drain tailpieces to the basket strainers with compression nuts. Refrain from tightening them too much, as the excessive pressure could result in damage.
Step 8:
The sanitary tee is up next. Install it to both basins or in the centre of both.
Step 9:
Once you’re done with the sanitary tee, proceed with the drain trap. Also, commonly referred to as a P-trap, this component of the plumbing system consists of a U-shaped and J-shaped fitting.
Fix the sanitary tee to the U-shaped fitting. Then bridge the U-shaped trap to the J-shaped trap. The rear of the J-trap finalizes the drainage line by linking with the drain outlet pipe. Use slip-on compression nuts to connect all the pieces together.

Step 10:
Mount the faucet by threading the mounting bracket and hot and cold water lines down via the countertop. Next, you’re going to have to utilize a series of channel locks to strengthen the nuts at the lower end of the faucet to ensure that it is secured to your kitchen counter.
Step 11:
Next, link the hot and cold water lines to their respective pipes. Tighten as needed with channel locks.
Step 12:
As a final step in the double sink plumbing process, inspect for leaks by switching on the hot and cold isolation valves. Open the faucet to release any trapped air and allow the water to run into the sink.
No leaks? Good job!
A Helping Hand from the Experts at PlumbWize
DIY is great, but if you need a little help to ensure excellent double sink plumbing, PlumbWize has you covered.
Give us a call today to request a quote!


 0
0 905-332-8222